Sunday, November 27, 2011

Not Quite What I Had Planned

I had good intentions to finish the Christmas wall hanging tonight.  I really did.

I got side tracked.

When we were rearranging things before putting up the Christmas tree this afternoon, I ran across the paintings on fabric that Geff had done this summer.

Tonight, instead of working on the Christmas wall hanging as I should have, I decided to work on one of the paintings.


I had already started on the tree on the left when I ran out of ideas this past summer.

This time, I started by giving some definitions to the mountain range.


Then, I added some definition to the tree trunks.


And, finally, started working on the tree on the right.  Unfortunately, my shoulders were telling me that I'm out of practice, so I'll have to pick up from here another night.


Friday, November 25, 2011

Christmas Wall Hanging

Happy Belated Thanksgiving!

While cleaning up around the sewing table before guests arrived, I ran across a Christmas panel that I had purchased a month or two ago...and had completely forgotten about.

I liked it as much when I uncovered it on the sewing table as I had when I first saw it.  Basically, "The Night Before Christmas" in a redwork print.


Last night, after the guests had left and the dinner clean up was done, I decided to take it out again. 

My initial reaction was to create a wall hanging from the large portion, and then create pillows from the two smaller images.  The first is Santa in his sleigh.


The second is an old fashioned "Merry Christmas."


I was still thinking along these lines when I entered into the craft room in search of corresponding fabric.  I quickly found the perfect fabrics:  a dark green and a cream.

Last night, I put a green border around the large image.  Fortunately, I decided to put it away for the night.  When I started working on it today, I decided that I needed to work in the other two images. I started working up an elaborate design.  After the second sketch, I remembered the purpose of this blog:  to finish projects.

With that in mind, I slimmed down the design, found some corresponding fabric on the sewing table, and before I knew it, I had a finished wall hanging top.


I bought some backing fabric, and once I pre-wash it, I'll quilt it and have another finished project.  It isn't nearly as fancy as it was going to be, but it will be great to have it up on the wall before Christmas 2015!

Saturday, November 19, 2011

Far Too Long Since My Last Post

It has been far too long since my last post.  I finally finished the last of the 30+ Christmas stockings.

Last weekend, the Christmas stockings made their debut at the Longmont Elks Craft Fair.  We didn't sell any of the stockings, but it was a very successful event for us.  I'm going to have to make some more pot holders!

Plus, it was a lot of fun!


Tonight, I started working on some more Christmas cards.  I should have enough for this year, but I need something to replace working on the Christmas stockings.

Here are the way they are looking right now...


Wednesday, September 28, 2011

Christmas Stocking Ornaments Part 3

I have to admit that I am ready for a new project.  However, I don't want the remaining stockings to join the stacks of unfinished projects in the craft room. 

The thought briefly crossed my mind that if they happened to land in the trash when I was cleaning up the loft, I wouldn't have to finish them nor would they wind up on the unfinished projects list.  I couldn't do it.  I have four left to stuff, nine left to sew shut, and eight left to do the final decorating on.

Hmmm, that is almost depressing.

On the plus side, though, tonight I managed to finish seven more ornaments.


I truly am having fun adding the bling.


Although, I think I had even more fun shopping for new bling...but that is a whole different story!

Tuesday, September 20, 2011

Christmas Stocking Ornaments Part 2

This is part 2 of the Christmas stocking ornaments.

I now have, oh, almost 25 ornaments in various stages of completion.  I definitely went overboard.  Just a little.

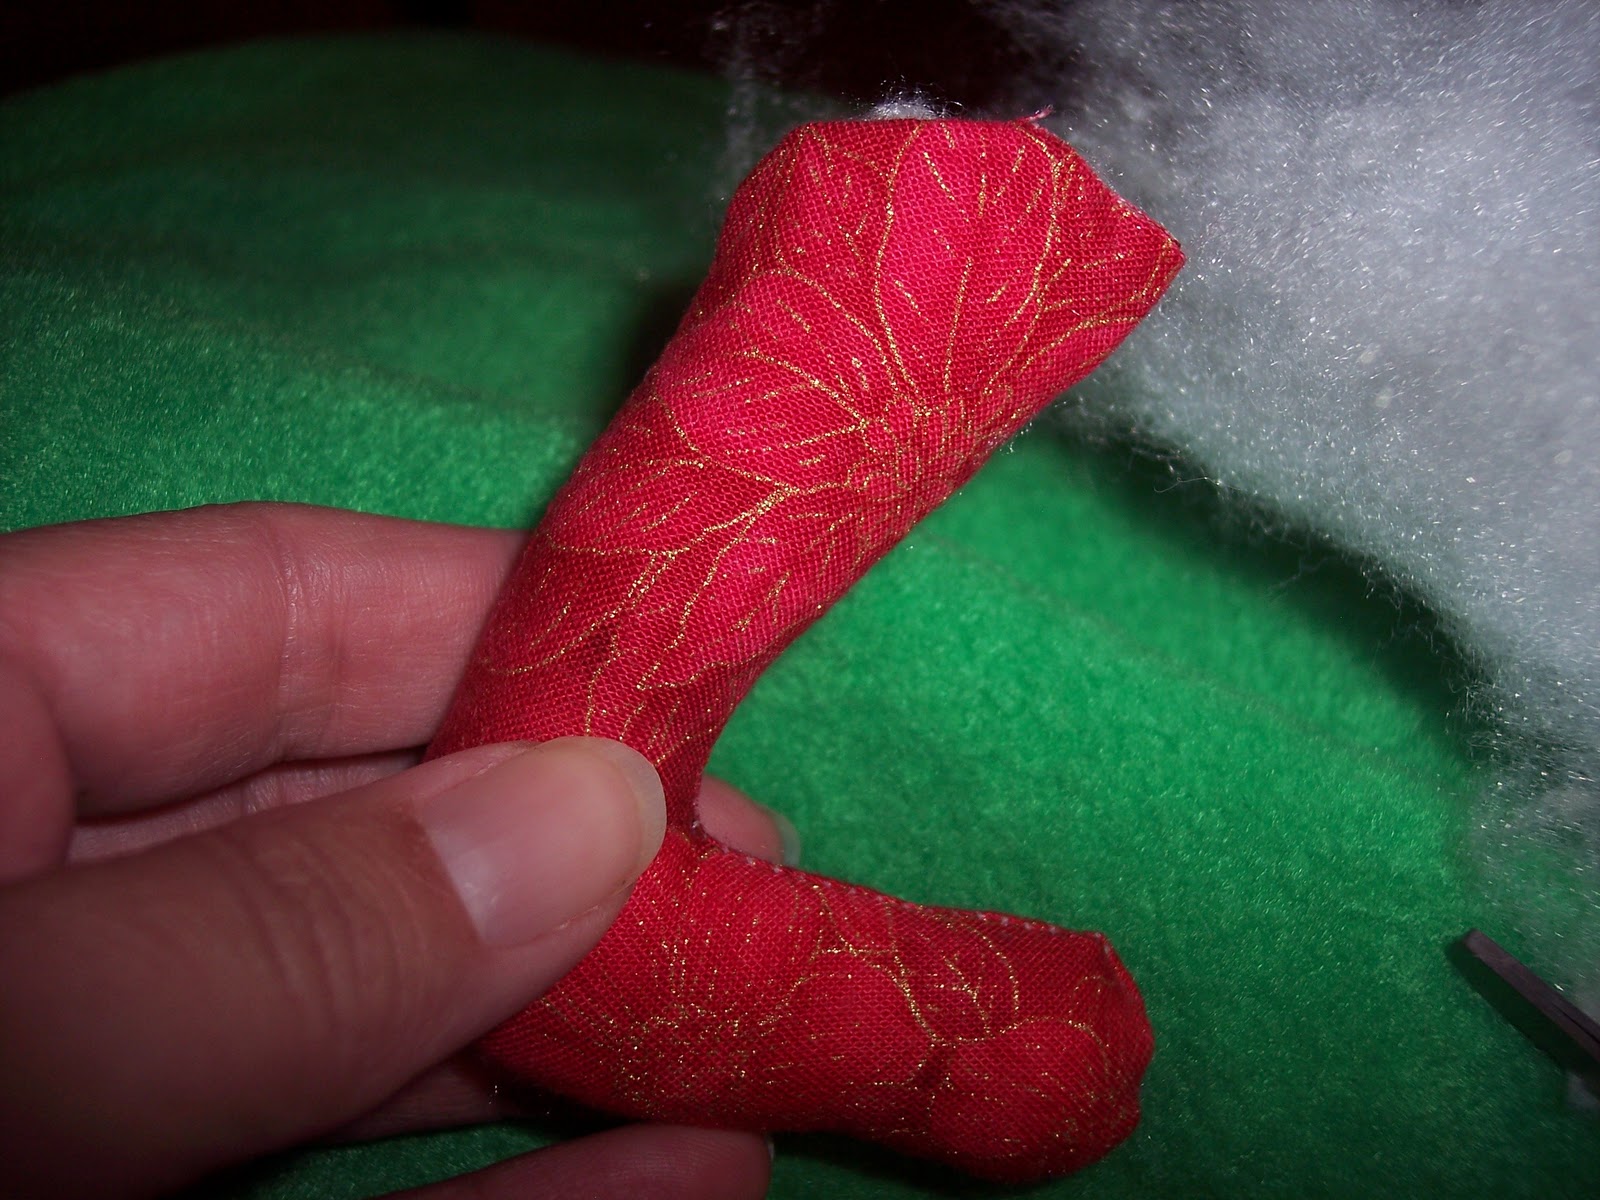
Once the stockings were turned inside out, it was time to start stuffing.  Once again, the small opening made it a bit difficult.


And, the general shape of the ornament also made it a fun challenge to stuff...


Between the small opening and the heel area, stuffing the toe meant pulling out the same tool I used to help turn the ornament right-side out.


Eventually, though, I did get the stocking stuffed.  I was surprised at how much stuffing each stocking actually took.


Once stuffed, it was time to start hand sewing. 

After a couple of attempts, I finally settled on a way to sew the top shut while adding the loop. 

As an aside, the first one I made, I didn't think about putting in the loop to hang until I was almost finished decorating the stocking.  That approach definitely did not work.

The approach that did work was to choose the trim that I wanted to use for the loop, which for this particular ornament was a bit of gold elastic.  Once again, each ornament is unique--I didn't use any particular measurement for the loop.  Instead, I just put the trim in the shape I wanted, added about a half inch, and cut.  Once cut, I knotted the ends.


After getting the cord ready, I made sure that the raw edges were tucked into the stocking.  Then, I placed the knotted end into the top of the stocking.


And, then I started sewing, being really careful to put a lot of stitches around the cord, including in between the two cord ends.  I definitely don't want the cord to slip out of the stocking.  The finished edge is kind of flat, but it will get covered up.


Next, I selected the trim, cut it to fit, and sewed it on. 


I can either leave it like this or add beads or other findings.

Monday, September 19, 2011

Christmas Stocking Ornaments

I hadn't realized that it had been so long since my last posting.  My crafting has been scattered and unfocused this past month, which is most likely the reason for the lack of posts.  I've done some crocheting, put together a quick quilt top, worked on some luminaries, and most recently, worked on a bunch of Christmas ornaments for our Etsy shop.

While working on the Christmas ornaments, I've taken some photos along the way, and tonight I'm taking a break from sewing the ornaments to list some on our Etsy shop and start working on the blog again.

The Christmas ornaments that I am working on right now are small stuffed Christmas stockings, like the one here on the right.

I'm not entirely sure what started me on this kick, but I have definitely had fun with it.  Each ornament is completely unique. 

I start each one by placing the right side of the fabric together (and so that I don't waste fabric), I've been ironing a crease about 3 inches from the edge of the fabric.


Once the right sides were together, I free-handed the sewing lines for each stocking on the back side of the fabric.

Hmmm, note to self:  using black fabric was probably not a great idea for the photos!

I tended to draw four or five stockings in a row, and I reversed them so that I would save a little bit of fabric.

Once drawn, I started sewing along the lines that I had drawn.


 Eventually, I had a whole row of little sewn stockings:


Once I had a row of stockings, I cut about an eighth of an inch from the sewing line.  I soon had a whole stack of stockings!


I may have gone a bit overboard...

Next came the fun of trying to turn these right-side out. 


Fortunately, I learned from making the birds and pulled out the right tool for the job...

I soon had a whole stack turned right-side out.

Up next:  finishing the stockings.

Thursday, August 11, 2011

Relaxing with the sewing machine

Tonight was about relaxing with the sewing machine.  And, finishing some note cards.

I have probably a dozen, maybe two dozen, cards in progress around the house.  There are times when I get in the mood to assemble the cards.  Sewing them, though, is a more time consuming process.  Fortunately, tonight I was into sewing and completing.

I started off by finishing the outlining on the following two cards.


Once that was done, I attached these two cards, along with the chili peppers and patriotic card (both created in June/July), to their note cards.  Four mini-projects completely finished!

Fortunately, I still felt like sewing, so I worked on a frog card and an angel card.  I started off working on the frog.  I finished outlining it and zigzagging around the outside edge.  Then, I set it aside.  It seems like there is something missing.  I'm considering doing a three dimensional leaf on it, but I need to figure out how to create the three dimensional leaf in such a way that it looks like it belongs to the card.  This challenge may take a while.

I'm having fun with the angel.  I had already outlined the halo and wings with gold thread.  Tonight, I outlined the arms and the dress.  I still need to do the drum, the hair and the face.  But, I decided that I needed a break.

Last night, I sewed a little bit, but mainly I worked on ironing Geff's latest paintings.


And, the second one:


I am looking forward to embellishing these two!

The Turf Makes a Huge Difference

 I'm finally caught up on older posts.  I took this photo this morning, just after the front lawn had been put in.  I'm loving it.